Here was my problem.
I love my home, and this is definitely a first world problem. When we bought the house, it had an alarm system (tan box) and a white On-Q (Legrand) 14″x14″ box where all the ethernet, phone, and cable (DirecTV dish) cabling terminated. I added my own 16-port switch below and AT&T mounted their router/gateway on the wall, and I added a small fanless computer that served as my pfSense router.
Over time we got a Uverse GigaPower upgrade, so a power supply (white, to right of On-Q box) was added to power the FTTP/FTTH ONT that sits on the outside of my house. Eventually I switched security companies and I got a second alarm box (to the left of the tan alarm box)
This is the mess that now lived in my walk-in closet.
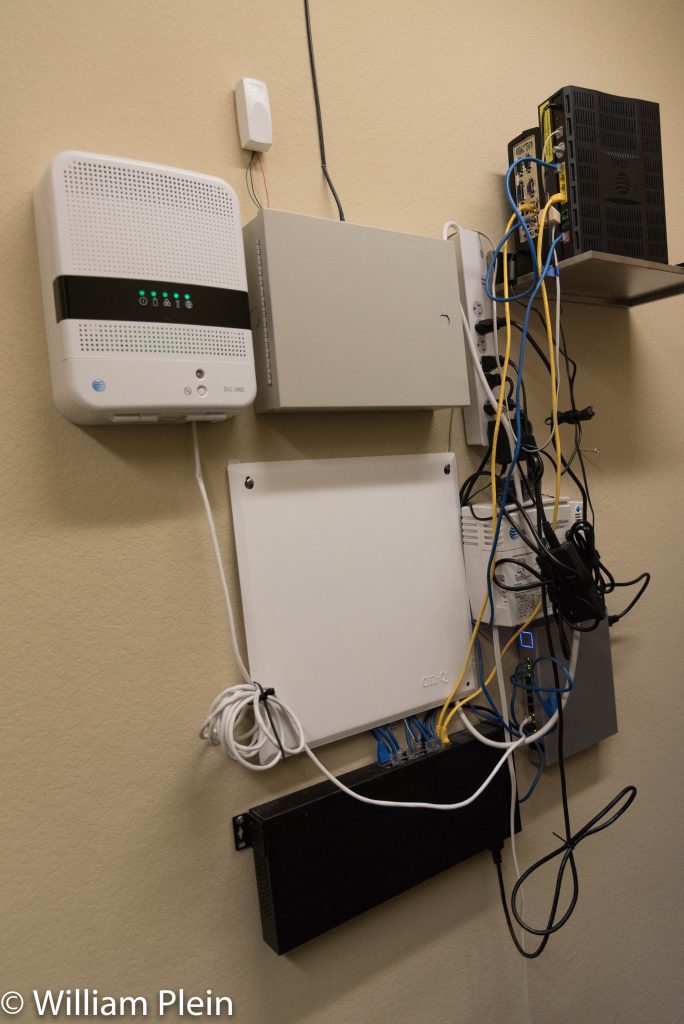
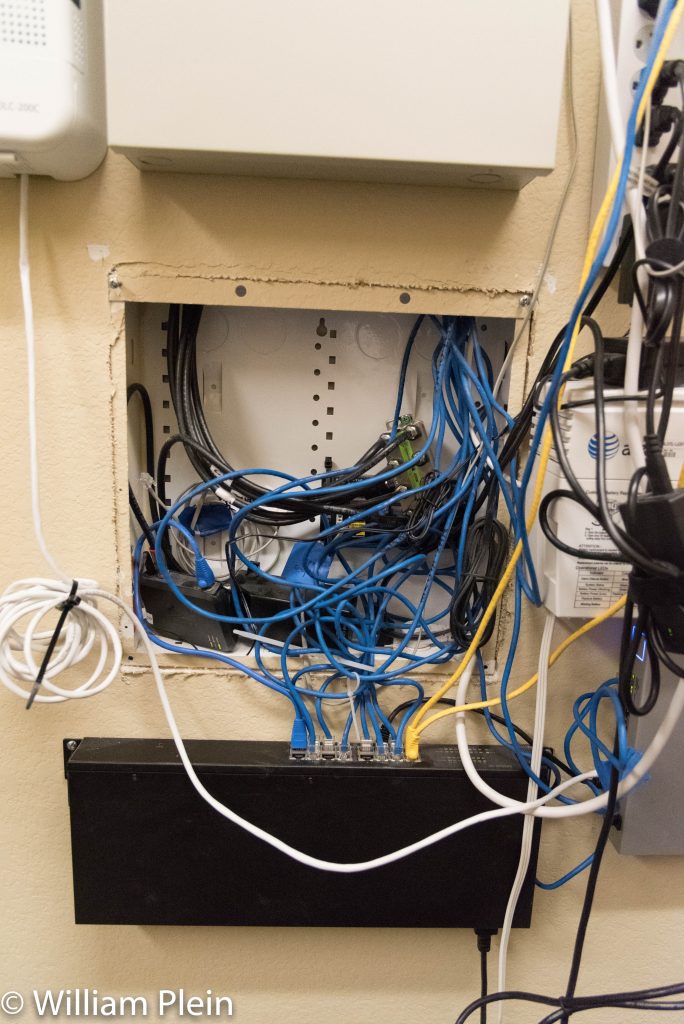
My wife and 18yr old daughter were both gone at the same time for a couple of weekends, so I decided to upgrade the On-Q box and clean things up..
First things first: Inside the tan alarm box, my new security company had put in a “conversion” or “takeover” box. This converts the wired signals from the alarm sensors into the new system, which is wirelessly linked to the new alarm box. I called my alarm company and found out how to put my system into “TEST MODE” and alerted them the system would be down for 24 hours.
I took a picture of the mess, then labeled each of the wire pairs, and then took them out of the white conversion box, and removed the conversion box from the tan security box, and then removed it from the wall. I then removed the 14″ On-Q box from the wall as well
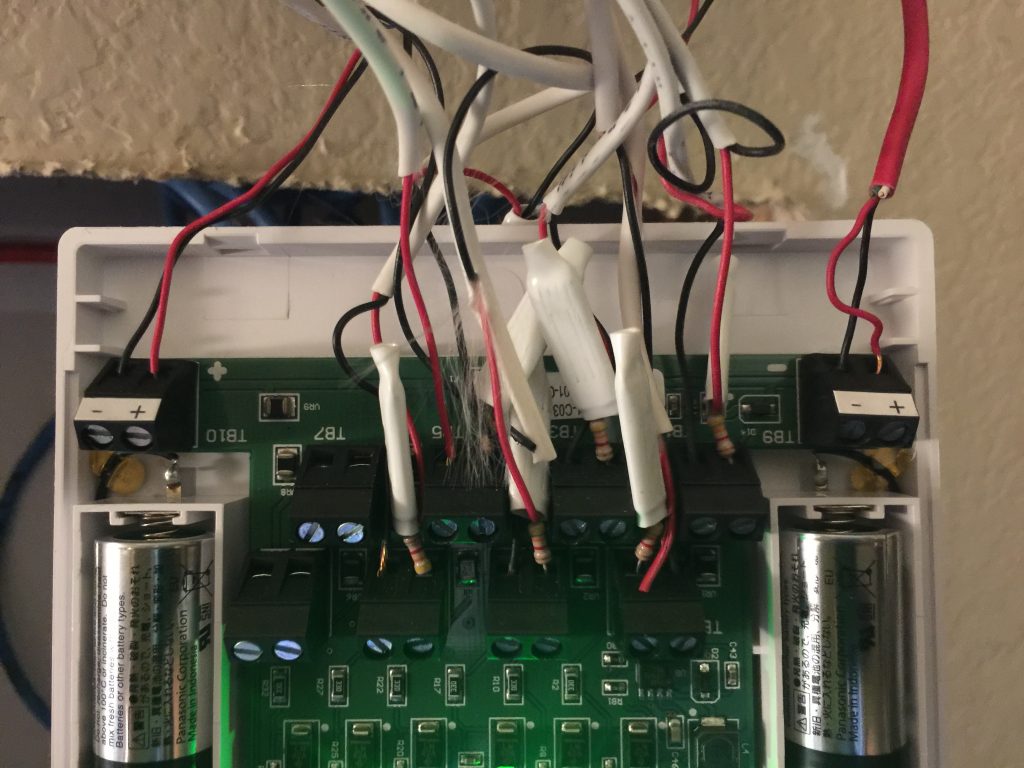
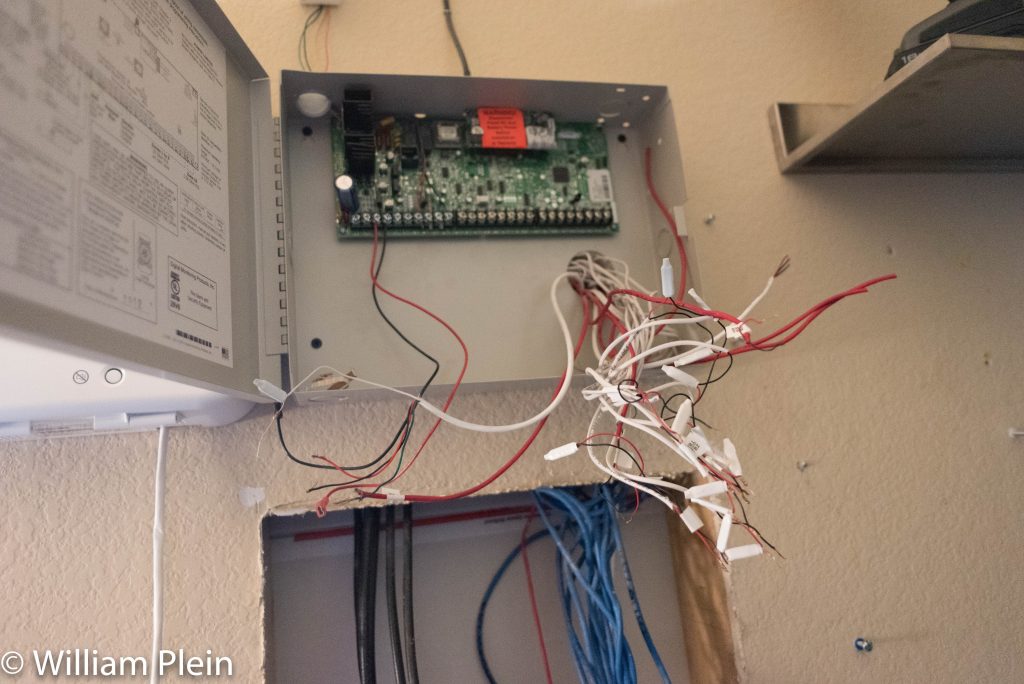
Next I opened up room for a new 42″ On-Q box. All of these structured wiring boxes are about 14.25″ wide, enough to fit between the studs, which should be just over 14.5″ of space (16″ on center minus 1.5″ thickness of a finished 2×4)
As I opened up the longer opening, I ran into a few things.
- Mounting screw for bathroom hardware on the other side of the wall.
- 110V power
- Low voltage power for the alarm system
- A non-load-bearing horizontal wood block that was used to keep the studs spaced prior to sheetrock. (not a fireblock, see first picture below)
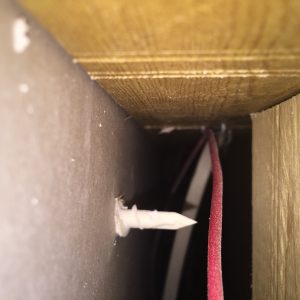
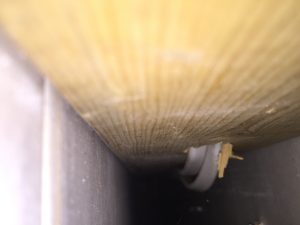
I got around those issues pretty easily:
- Shortened the sheetrock insert so that it was only the depth of the sheetrock, and then used a shorter screw on the bathroom hardware.
- The On-Q box is about 1/4″ narrower than the studs. So the electrical could continue to run next to the On-Q, but I marked the position on the wall so I could avoid hitting it with screws when mounting the On-Q
- Rerouted the low-voltage power
- Cut through the wood block between the studs.
- Ran the cables through the 3 pre-punched holes in the top of the On-Q and mounted the On-Q permanently after checking for fit.
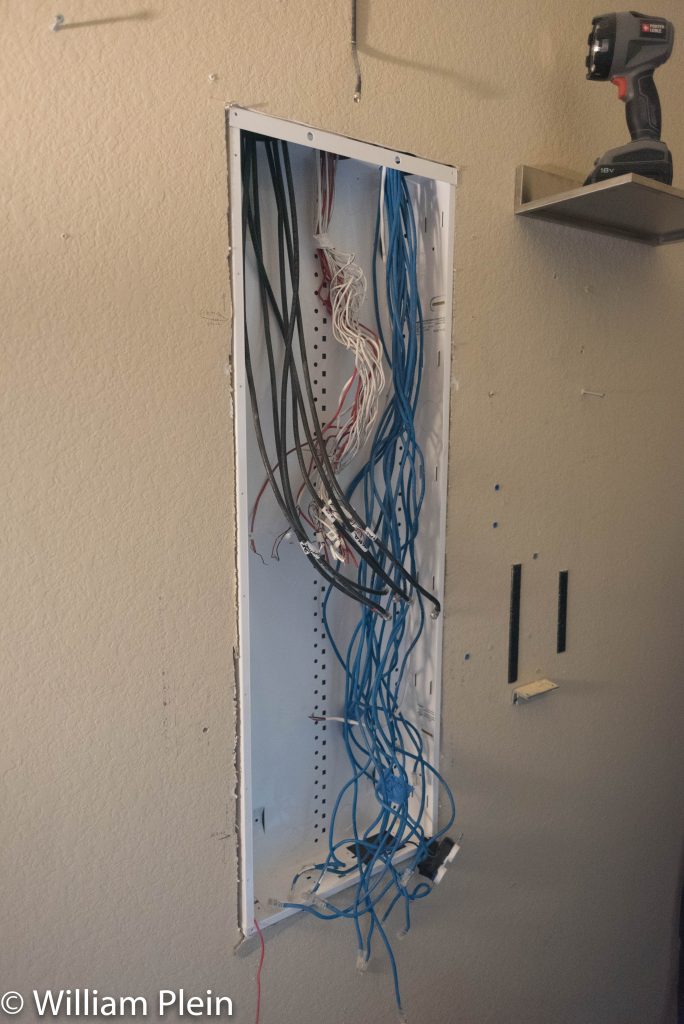
Note the power in the bottom of the On-Q. This existed in my old one. I only needed to turn off power to the circuit, remove it from the old box, and put it back in this one. Since it received power from below, I didn’t have to change any of the Romex.
Next I started to put things back together. First I cut a hole above the On-Q to allow a place to run cables from externally mounted devices back into the On-Q (without leaving it part way open like I did in the first photos at the start of this blog post)
Then I mounted my ONT power supply up high, with the alarm system next to it. You can also see in the picture below the conversion box has been moved inside the On-Q.
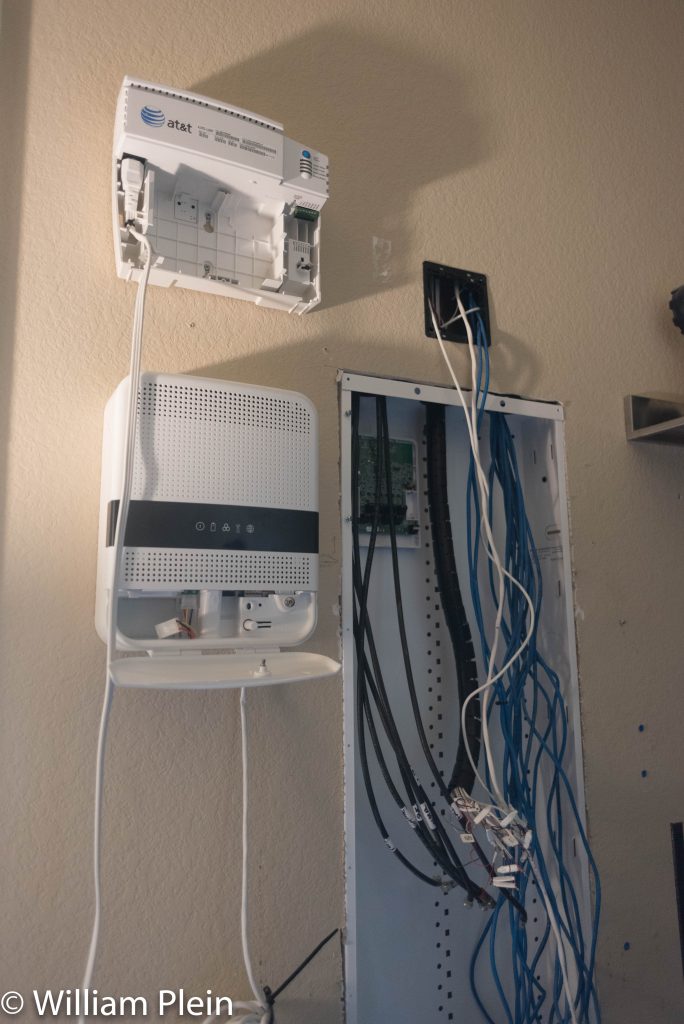
Next I mounted my 16-port switch, my 8-port POE switch, my DirecTV SWM, my power (including a temporary power distribution unit that I intend to replace, at the bottom).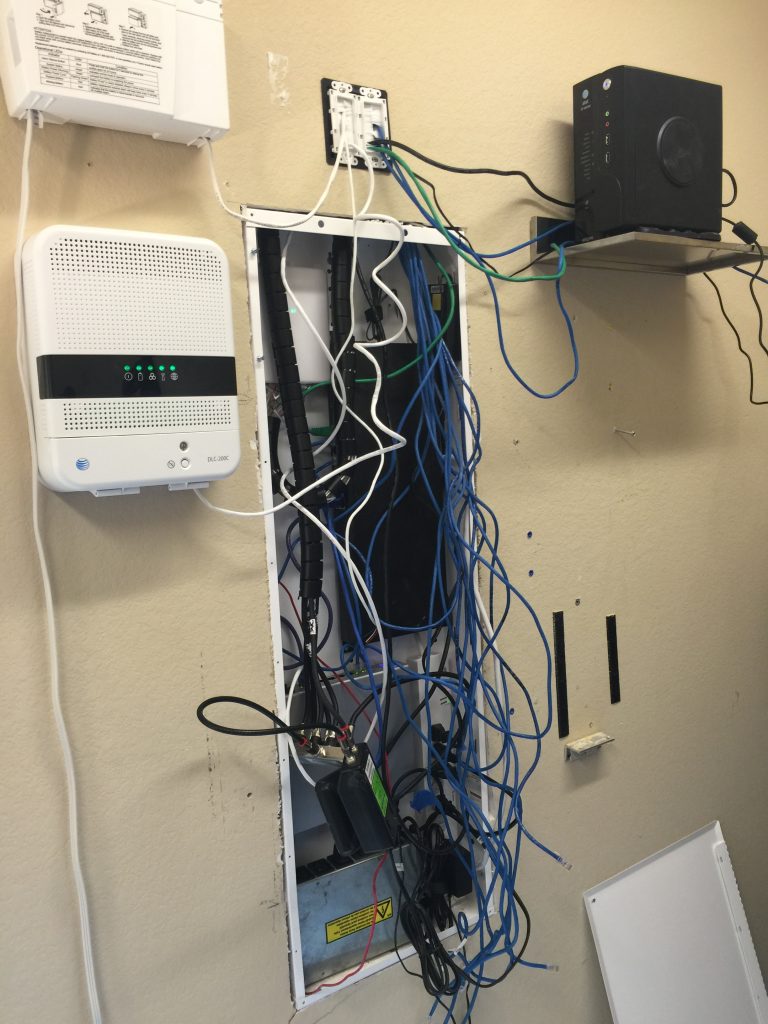
..and finally started to dress up the cables with wrapping bands from Monoprice.
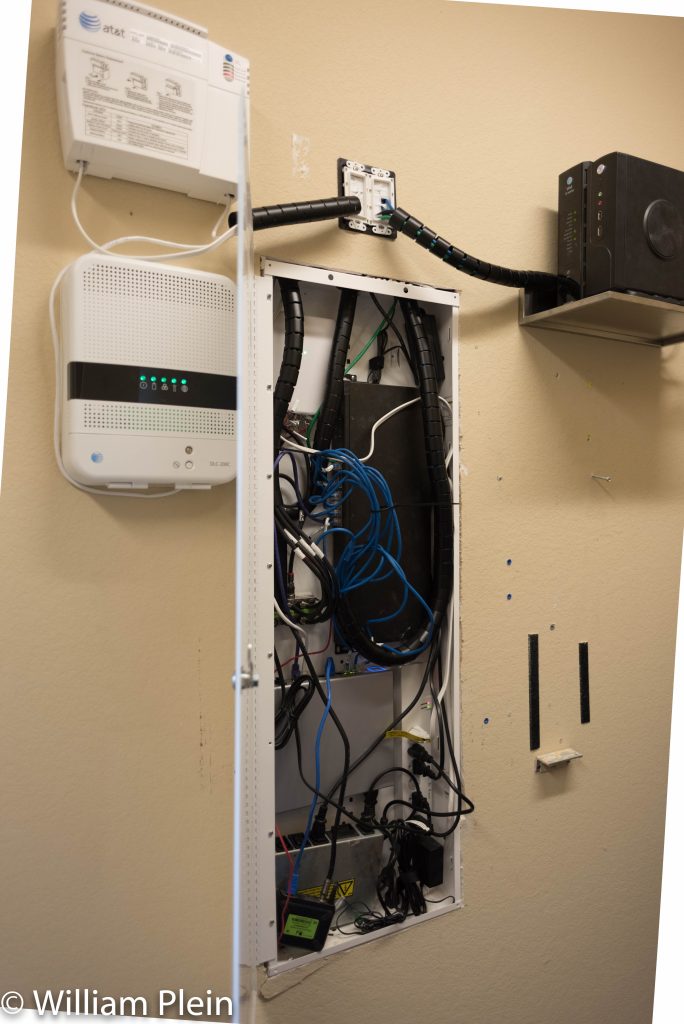
Before and After:
Before
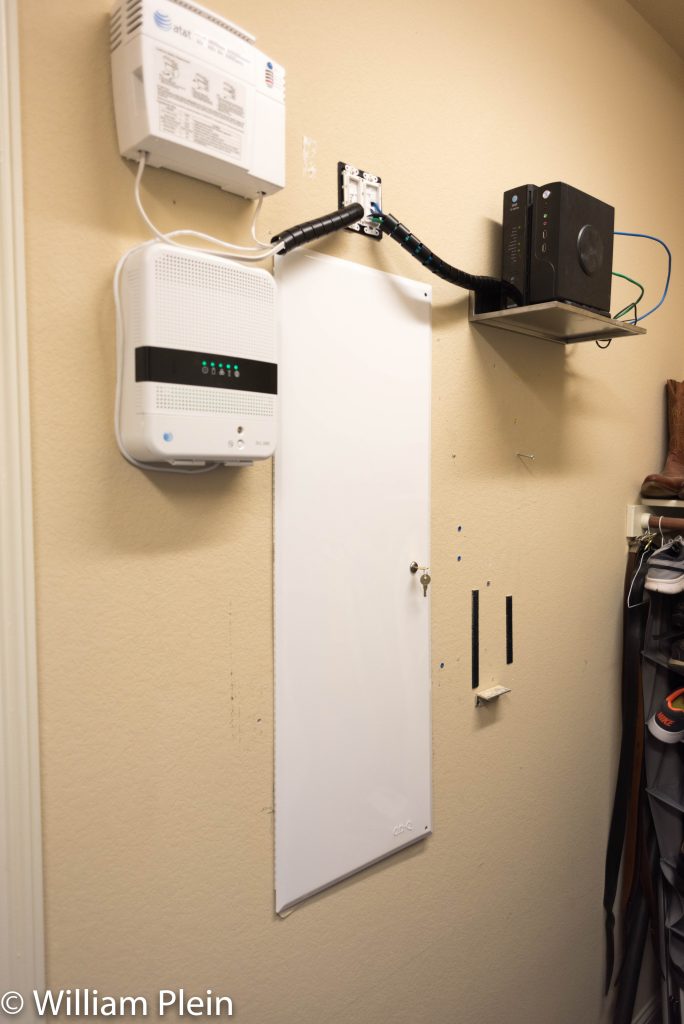
After