I’ve gotten off to a slow start in my evaluation of the DroboElite, for the most part due to an over-busy work and home schedule.
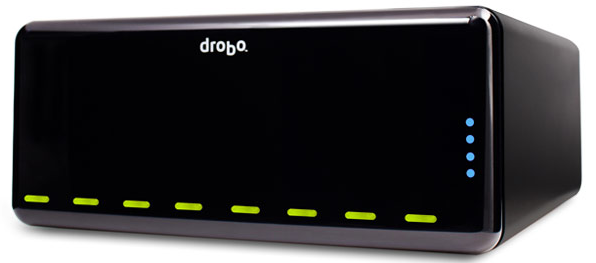
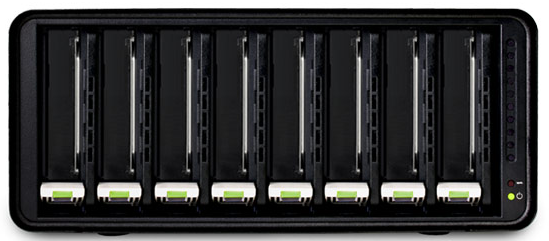
The DroboElite was the flagship until the recent release of the DroboPro FS (NAS version of the DroboElite), although one can still argue that an iSCSI Drobo is pretty much flagship material. It features 8 drive bays, and multi-host iSCSI connectivity as well as support for VMware ESX clustering (!!!)
The promise of all Drobo products is ease of use. This extends to even the DroboElite, which is one of the flagship models that Data Robotics is using to extend their business upwards into more business environments.
Basic installation of the DroboElite couldn’t be easier. Essentially you install the Drobo Dashboard software provided on the CD (Windows or Mac). The software automatically checks for the latest version, and in my case (Mac OS X), will automate the download of the latest version and relaunch.
Per the instructions, I put two new disk drives into the DroboElite before starting it for the first time. For purposes of this evaluation, I purchased 5 new Samsung Spinpoint F3 HD103SJ 1TB drives. These are good performance 7200rpm drives. While many people are happy with Western Digital Green Power drives in their Drobos (assumption being that the Drobo or the connection would be the bottleneck), I opted for faster drives that would perform better if I chose to repurpose them in another system. You install the drives with the top label of the drive pointing to the right, and they slide in without carriers into the Drobo chassis. Insertion or removal is done by first by pushing down the gray plunger at the bottom of the slot that serves as a lock for the fully inserted drive.
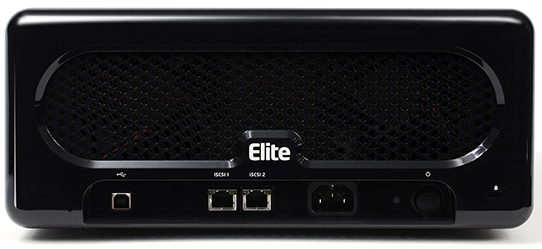
Once launched, Dashboard will look for locally connected (USB) or local network connected (iSCSI) Drobos. I used the USB cable. Discovery of the new device was quick and easy.
The DroboElite offers two Ethernet ports. I set mine up with static IP addresses, one each, and set one to use Jumbo Packets. This would allow me to test regular Ethernet, and then test again using Jumbo Packets. In order to keep things easy at first, I used the standard Ethernet packets (1500 bytes). Note that this system only has a single power connection, using a standard cord typical of desktop PCs.
The Drobo comes with a single volume of 16TB pre-defined. Yes, even if you only have 5TB of drives (4TB usable), the Drobo is happy to present a 16TB drive. This is known as “thin-provisioning”, at least at my old employer (3PAR, who innovated the concept.) The idea is that one can present a single large volume to a host, and as the space is consumed, the administrator can add drives “just in time”.
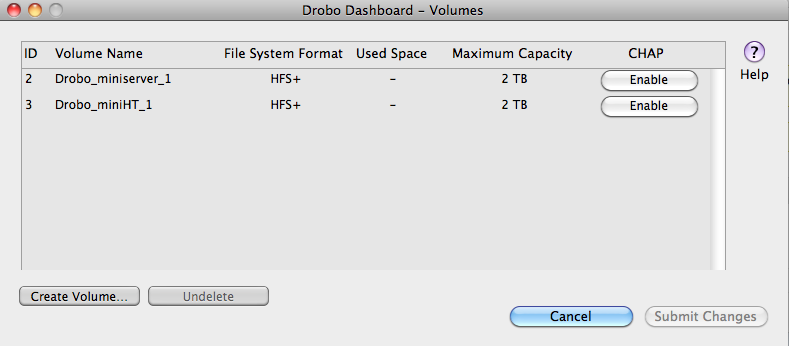
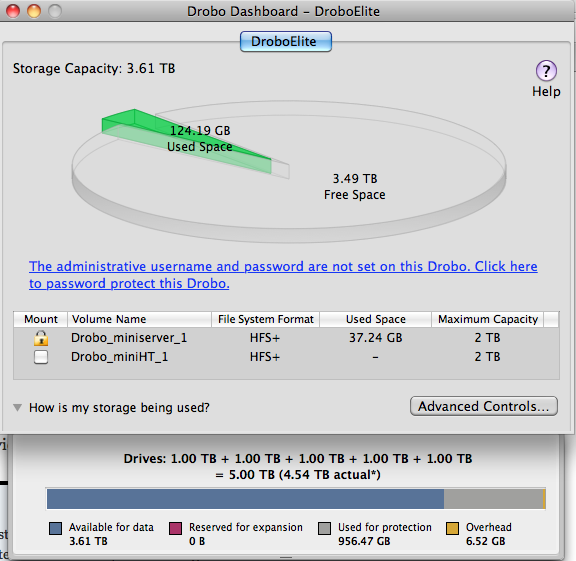
The DroboElite allows not only for multiple volumes to be created, but also allows for multiple hosts to access the system simultaneously. For my first test, I deleted the default 16TB volume, and created a pair of 2TB volumes for presentation to two Mac minis I have in my house.
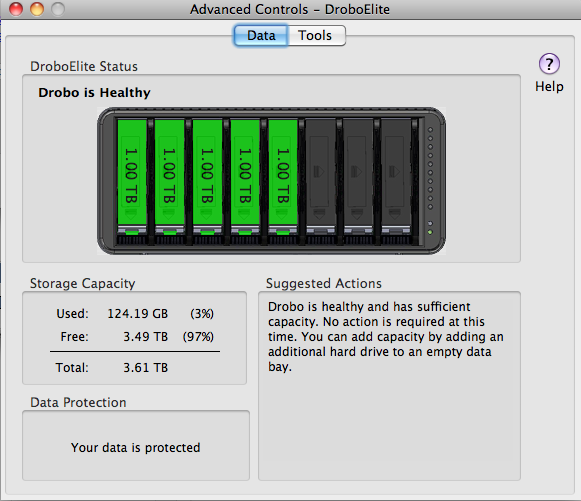
I then added 3 more drives to the system. The Drobo spread the volumes out over the new drives very quickly, as I had not written anything to them at this point. The “Advanced Controls” portion of the Drobo Dashboard gives the administrator a quick view of what drives are located in which slots, and the state of data protection:
Next I ran some basic I/O, just to get an impression of the performance. My network uses GigE switches (two in this case, with a single link between the two switches. With various large block sequential and random writes, I was able to max out the GigE backbone, getting about 90MB/sec on one server, or 45MB/sec each across a pair of servers. That’s the majority of the available bandwidth of a GigE connection, and it was good to know that the DroboElite was capable of saturating the link, at least for certain types of workloads. The Drobo performed better on large block random writes than it did with sequential, curiously enough. This was an informal test, I plan on documenting fully the testing in a later edition of the product review.
Pingback: Bill Plein
Nice write-up Bill, it is really appreciated. I’ve been eying the DroboElite for some weeks now, but can’t find enough information if it would suite our needs. What are your opinions on using the DroboElite hooked up to, for instance, an OSX Server, and using it to serve as storage pool for user’s home directories? If so, do you see a limit of how many home directories can be served? I read this unverified, unanswered thread on Apple’s discussion board that hints that you can’t have too many before it all comes down to a crawl (http://discussions.apple.com/thread.jspa?messageID=12316898).
Well, I have it hooked up to a pair of Mac minis for my testing, and one of them runs OS X Server (just installed it a few weeks ago). But I don’t really have a way of testing a large number of users home directories on it.
I can’t quite figure out why home directories would be a problem, except that maybe when home directories are stored on the server, the network becomes very “chatty”. Lots of small reads and writes all the time as people browse and end up changing files and updating atime. I wonder if simply turning off atime for that filesystem would help?
For application usage, this unit seems to be pretty good. I’ve developed a set of benchmarks that I am going to run using one host, then two hosts simultaneously. I’m going to kick off those scripts tonight.
Pingback: DroboElite Review Part 3: Functionality and Performance meet Ease of Use | Bill Plein's Blog – Tangential Excursions